Guide
How HDPE Pipe Is Made: The Extrusion Process, Step by Step (2026)
From resin pellet to finished pipe — the eight steps of the extrusion line, what each one controls, and how to tell a well-made pipe from a poor one.
Dr. Wei Liu, P.E.
Senior Engineering Manager · Primepoly
Published: Jun 8, 2026
Updated: Jun 8, 2026
13 min read
Every HDPE pipe starts as plastic pellets and ends as a precise, pressure-rated tube — and what happens in between determines whether it lasts fifty years or fails early. Understanding the extrusion process isn't just interesting; it's how a buyer tells a well-made pipe from a cheap one. This guide walks the eight steps of the line, explains what each one actually controls (diameter, wall, strength, traceability), and ends with a checklist of the quality signals — OIT, density, dimensions, carbon black, marking — that separate a quality pipe from a risky one.
Why the process matters to a buyer
You don't need to run an extrusion line to buy pipe well — but knowing how it's made tells you exactly what to ask for and what to inspect. Each step maps to a quality outcome: the resin sets long-term strength, the sizing tank sets diameter accuracy, the haul-off sets wall consistency, and the QC tests prove the antioxidant and the material grade. A pipe that looks identical on the outside can be made from over-used regrind with depleted antioxidant — and the process knowledge below is how you tell the difference.
The extrusion line at a glance
An HDPE pipe extrusion line is a continuous process: pellets go in one end and finished, marked, cut-or-coiled pipe comes out the other, never stopping. The flowchart shows the sequence; the section after it breaks down what each step controls and the quality signal it leaves behind.
The eight steps, and what each controls
Each stage of the line sets a specific property of the finished pipe — and leaves a quality signal a buyer can check. The table summarises all eight.
| Step | What happens | Buyer quality signal |
|---|---|---|
| 1. Raw material | PE100/PE4710 resin + carbon-black/colour masterbatch | Virgin water-grade resin; controlled regrind |
| 2. Feeding & melting | Dosed pellets melted/homogenised in the extruder | Stable melt → consistent wall |
| 3. Die | Melt forced through an annular die to form the tube | Spiral mandrel → minimal weld lines |
| 4. Vacuum sizing & cooling | Vacuum fixes the outside diameter; tanks cool it | OD & ovality within tolerance |
| 5. Haul-off | Caterpillar puller draws pipe at set speed | Consistent wall, no thin spots |
| 6. Marking | Print size/SDR/standard/batch; co-extruded stripes | Full, legible, traceable marking |
| 7. Cutting / coiling | Saw-cut straight lengths or wound to coils | Clean square cuts; no coil ovality |
| 8. Quality control | Inline gauging + lab batch tests | OIT, density, MFR, hydrostatic on cert |
Step 1 — Raw material: resin & masterbatch
It starts with PE100 / PE4710 bimodal resin pellets — virgin, water-grade material whose molecular structure gives the pipe its long-term strength (the MRS 10 MPa rating of PE100). A masterbatch is added for colour and UV protection: carbon black for black pipe, or blue and other pigments. The single most important quality question here is the resin: virgin water-grade compound with controlled, minimal regrind. Over-using recycled or regrind material reduces long-term strength and makes the melt inconsistent.
Steps 2–3 — Melting & the die
Pellets are precisely dosed (gravimetric feeding is preferred) into a single-screw extruder, where a rotating screw conveys, shears and heats them in a heated barrel into a uniform melt (typically somewhere around 190–230 °C, depending on resin and line). That molten polymer is then forced through an annular die whose mandrel forms the tube shape and sets the nominal diameter and wall geometry; a spiral-mandrel die head minimises weld lines for full-strength pipe. A stable, homogeneous melt is what gives a consistent wall down the length.
Steps 4–5 — Vacuum sizing, cooling & haul-off
This is where the pipe gets its precise dimensions. The hot, soft tube enters a vacuum sizing (calibration) sleeve, where vacuum pulls the pipe outward against the sleeve to fix the exact outside diameter, then passes through spray or immersion cooling tanks that solidify it. The wall thickness, meanwhile, is set by the balance between extruder output and the speed of the haul-off — the caterpillar puller that draws the pipe through the line. Faster haul-off relative to output gives a thinner wall, slower gives a thicker wall.

Step 6 — Marking & co-extruded stripes
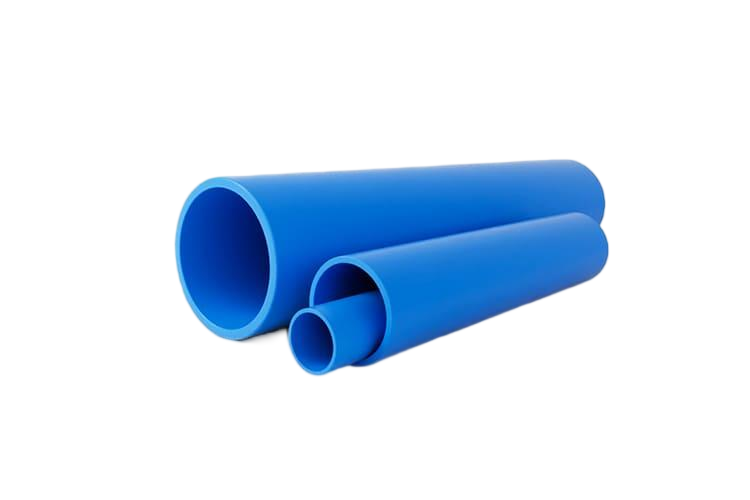
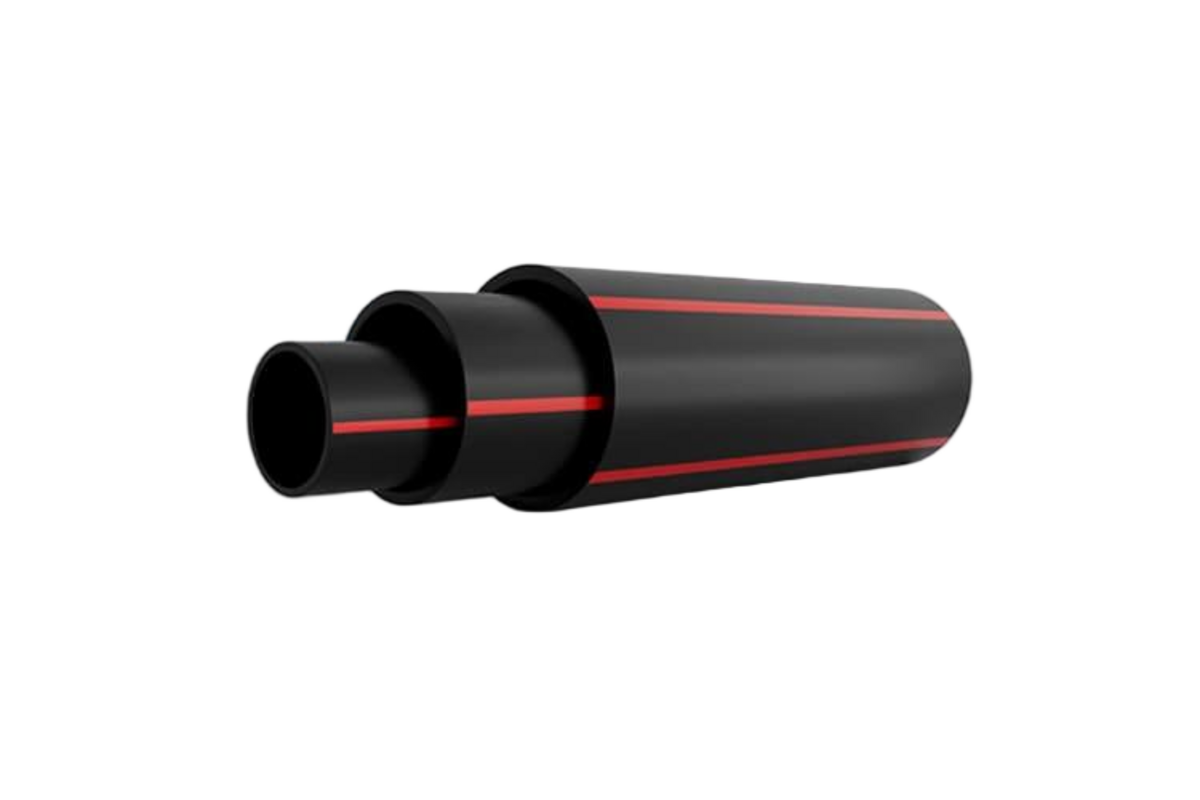
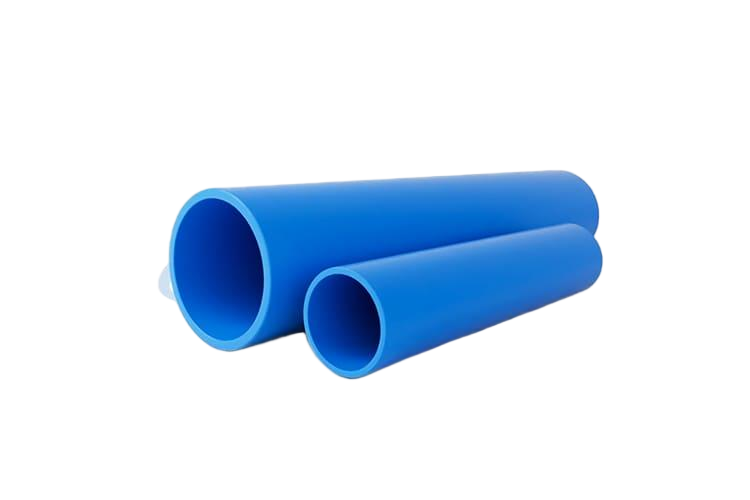
The pipe is then printed — by inkjet or hot foil — with its size, SDR or PN, material (PE100), the standard it's made to, and a batch number, date and metre marks. That marking is the pipe's traceability: it's how a bad batch is identified and recalled, so full, legible marking is itself a quality signal. The identifying colour stripes (blue for water, yellow or orange for gas) aren't painted on — they're co-extruded into the wall at the die through a separate co-extrusion head.
Step 7 — Cutting or coiling
How the pipe is finished depends on its size. Large-diameter pipe is cut to straight lengths (commonly 3, 6 or 12 metres) by a travelling saw that moves with the pipe so it can cut without stopping the line. Smaller-diameter pipe is wound onto coils or drums (often 50, 100 or 200 metres), which is exactly what makes small HDPE so fast to install over long runs with few joints — a direct benefit of the extrusion process being continuous.
Step 8 — Quality control: inline & lab tests
Quality control runs both on the line and in the lab. Inline, ultrasonic gauges and laser micrometers continuously check wall thickness and outside diameter. In the lab, samples from each batch are tested for the properties that prove the pipe — and these are exactly what a buyer should ask to see on a certificate.
- Dimensions and ovality — against ISO 4427 / EN 12201 tolerances.
- Density (ISO 1183) — confirms the correct PE grade.
- Melt flow rate / MFR (ISO 1133) — confirms the resin is on-spec.
- Oxidation induction time / OIT (ISO 11357-6) — proves the antioxidant level (commonly ≥20 min at 200 °C).
- Hydrostatic pressure test (ISO 1167) — long-term strength under internal pressure.
- Carbon-black content and dispersion — proves UV protection with no weak "windows".
Standards governing manufacture & testing
Manufacture and testing are governed by a clear set of standards: ISO 4427 and EN 12201 (with ASTM F714 / D3035 in North America) define the pipe's dimensions, marking and performance, while the individual tests follow ISO 1167 (hydrostatic), ISO 11357-6 (OIT), ISO 1183 (density) and ISO 1133 (melt flow rate). A reputable manufacturer tests every batch against these and can produce the certificates — which is the documentary half of telling a well-made pipe from a poor one.
How to tell a well-made HDPE pipe: a 6-point checklist
- Resin: virgin, water-grade PE100/PE4710 compound with controlled, minimal regrind — not heavily recycled material.
- OIT: an oxidation induction time on the certificate (commonly ≥20 min at 200 °C) proving the antioxidant isn't depleted.
- Density & MFR: values matching the declared grade (ISO 1183 / ISO 1133) — confirming it really is PE100.
- Dimensions & ovality: outside diameter, wall and ovality within ISO 4427 / EN 12201 tolerance for clean fusion joints.
- Carbon black: ~2–2.5% content, well dispersed (no streaks or "windows") for genuine UV life.
- Marking & traceability: full, legible print — material, SDR/PN, standard, batch and date — so a lot can be traced.
Glossary
- Extruder
- The machine that melts and homogenises PE pellets with a heated, rotating single screw and pushes the melt to the die.
- Die
- The annular tooling that shapes the molten PE into a tube and sets the nominal diameter and wall geometry.
- Vacuum sizing
- The calibration tank that uses vacuum to pull the hot pipe to a precise outside diameter before cooling.
- Haul-off
- The caterpillar puller that draws the pipe through the line; its speed versus output sets the wall thickness.
- OIT (oxidation induction time)
- A test of the antioxidant level in the pipe (ISO 11357-6) — a key indicator of long-term durability.
- Co-extrusion
- Extruding a second layer or colour stripe at the die — used for identification stripes, PE100-RC layers and peelable skins.
References & standards
- [1]Plastics Pipe Institute (PPI) — Handbook of Polyethylene Pipe (manufacturing & QC)
- [2]Plastics Pipe Institute (PPI) — Handbook of PE Pipe — table of contents
- [3]PE100+ Association — Carbon-black compounding & extrusion effects on PE
- [4]ISO — ISO 4427-1 — PE pipes for water supply (general)
- [5]SCITEQ — ISO 1167 — hydrostatic pressure test (overview)
- [6]ISO — ISO 11357-6 — oxidation induction time (OIT) by DSC
- [7]Bausano — HDPE pipe extrusion — process overview
- [8]United Poly Systems — HDPE pipe colour-code guide (co-extruded stripes)
Frequently asked questions
Need expert advice on your project?
Our engineering team helps utilities, contractors and EPCs specify the right pipe material and SDR for their project. Get a no-obligation technical consultation.
Talk to an engineerRead next
Explore further
Related applications, material comparisons and country buying guides selected for this topic.